
How to Travel Smarter: Best Unlimited Data eSIM for Australia 2026

Making use of an eSIM is just one of the ways you can save money and travel smarter, anywhere in the world. Our Editor Jessica Ruth Gibson shares her honest review of a Sim Local eSIM after her recent trip to Sydney, Australia.
In today’s digital world, staying connected while travelling is more important than ever. From ordering taxis and navigating with Google Maps to checking bus timetables and pre-booking tour tickets, having reliable mobile data makes travel significantly less stressful.
I learned this lesson the hard way. Several years ago, I flew to New York City for six days and returned home to a mobile bill of more than £100. At the time, I had no idea there was a much simpler and more affordable option. Since discovering eSIMs, I never travel long haul without one. As my current mobile plan only includes EU roaming, using an eSIM has become an essential part of my packing list. So as I prepared to fly to Australia for the first time in February, securing an eSIM was a non negotiable.
In this article I will guide you through how an eSIM works, the benefits of using an eSIM for travel and a review of my own experience of using a Sim Local eSIM in Australia. I’ve also included a real-life price comparison with Vodafone, and an easy installation guide. Let’s get started!


This article has been written in partnership with Sim Local, who kindly gifted me an eSIM to try and review for my audience. All words and views are my own.
Overview
- How does an eSIM work?
- 6 Benefits of using an eSIM whilst travelling
- My review: Using a Sim Local eSIM in Australia
- Is eSIM better than roaming in Australia?
- How to get an eSIM for Australia?
- How to install an eSIM?
- Would I use Sim Local again?
How Does an eSIM Work?
An eSIM (embedded SIM) is a digital SIM card that is built into your phone. Instead of removing your physical SIM and replacing it with a local SIM card (those days are long gone), you simply download a mobile data plan directly to your device.
Your existing phone number remains unchanged, so you can still receive calls and messages as normal, while using a separate data plan for your travels.
I think one of the biggest advantages is that you can organise your eSIM before you leave home and activate it as soon as you land in your destination. This means you can get online immediately, without wasting any time searching for airport Wi-Fi or visiting a eSIM card kiosk.
Depending on your usage, you can choose from unlimited data plans (for total peace of mind) or go for smaller bundles and top up if you need more as you go along. In most cases, using an eSIM is significantly cheaper than paying your mobile provider’s standard roaming charges, especially when travelling outside Europe. In this article I share a direct price comparison between using my eSIM vs roaming charges set by my data network provider (Vodafone) and the savings are huge!
Use code TRAVELISTA at checkout to get 5% off any Sim Local eSIM.

6 Benefits of Using an eSIM whilst travelling
Before I share my personal review and experience of using a Sim Local unlimited data eSIM in Australia, I want to help you get really clear on why using any eSIM will help you travel smarter on your next trip. After using eSIMs on several long-haul trips now, I genuinely wouldn’t travel without one.
1. They’re the cheapest way to get data abroad
You’ll know exactly what you’re paying upfront, which means you can account for your data access as part of your wider trip budget and planning. There won’t be any surprise data bills at the end of the month.
2. You’ll have instant connectivity as soon as you land
The moment you land, you’re online. There’s no need to join public Wi-Fi networks or wait until you reach your hotel.
3. You’ll feel more confident when travelling
Having an eSIM means always having access to useful traveller tools and apps like Google Maps, translation apps, transportation apps and instant messaging like WhatsApp. Knowing that you’ll have permanent 4G or 5G definitely makes travel feel much less daunting, especially if you’re a solo traveller.
4. They’re better for cyber security
Many people don’t know this, but many public Wi-Fi networks can be insecure and expose you to cyber risks such as fraud and data hacking. Using an eSIM will mean you can avoid shared Wi-Fi networks.
5. You can remain in control by opting for a ‘pay as you go’ approach
When buying an eSIM, you’ll find plenty of options from unlimited data to smaller bundles such as 10GB. Unlimited data sims aren’t particularly expensive, but if you’re not sure how much you’re going to need, you can buy a smaller bundle of data and just purchase data top ups as you go along.
6. You can tether and hotspot your data to your travel buddies
Some eSIM providers (such as Sim Local) allow you to hotspot and tether your data to others around you, which can really help others in a tricky spot. If you opt for an unlimited data package, sharing your data won’t cost you a penny extra, and you’ll likely be very popular as a result!
Use Sim Local’s helpful Find My Plan Tool to work out the best eSIM for you based on your own destination and usage.


How to Travel Smarter in Australia: My Sim Local eSIM Review
My eSIM review: Using a Sim Local eSIM in Australia
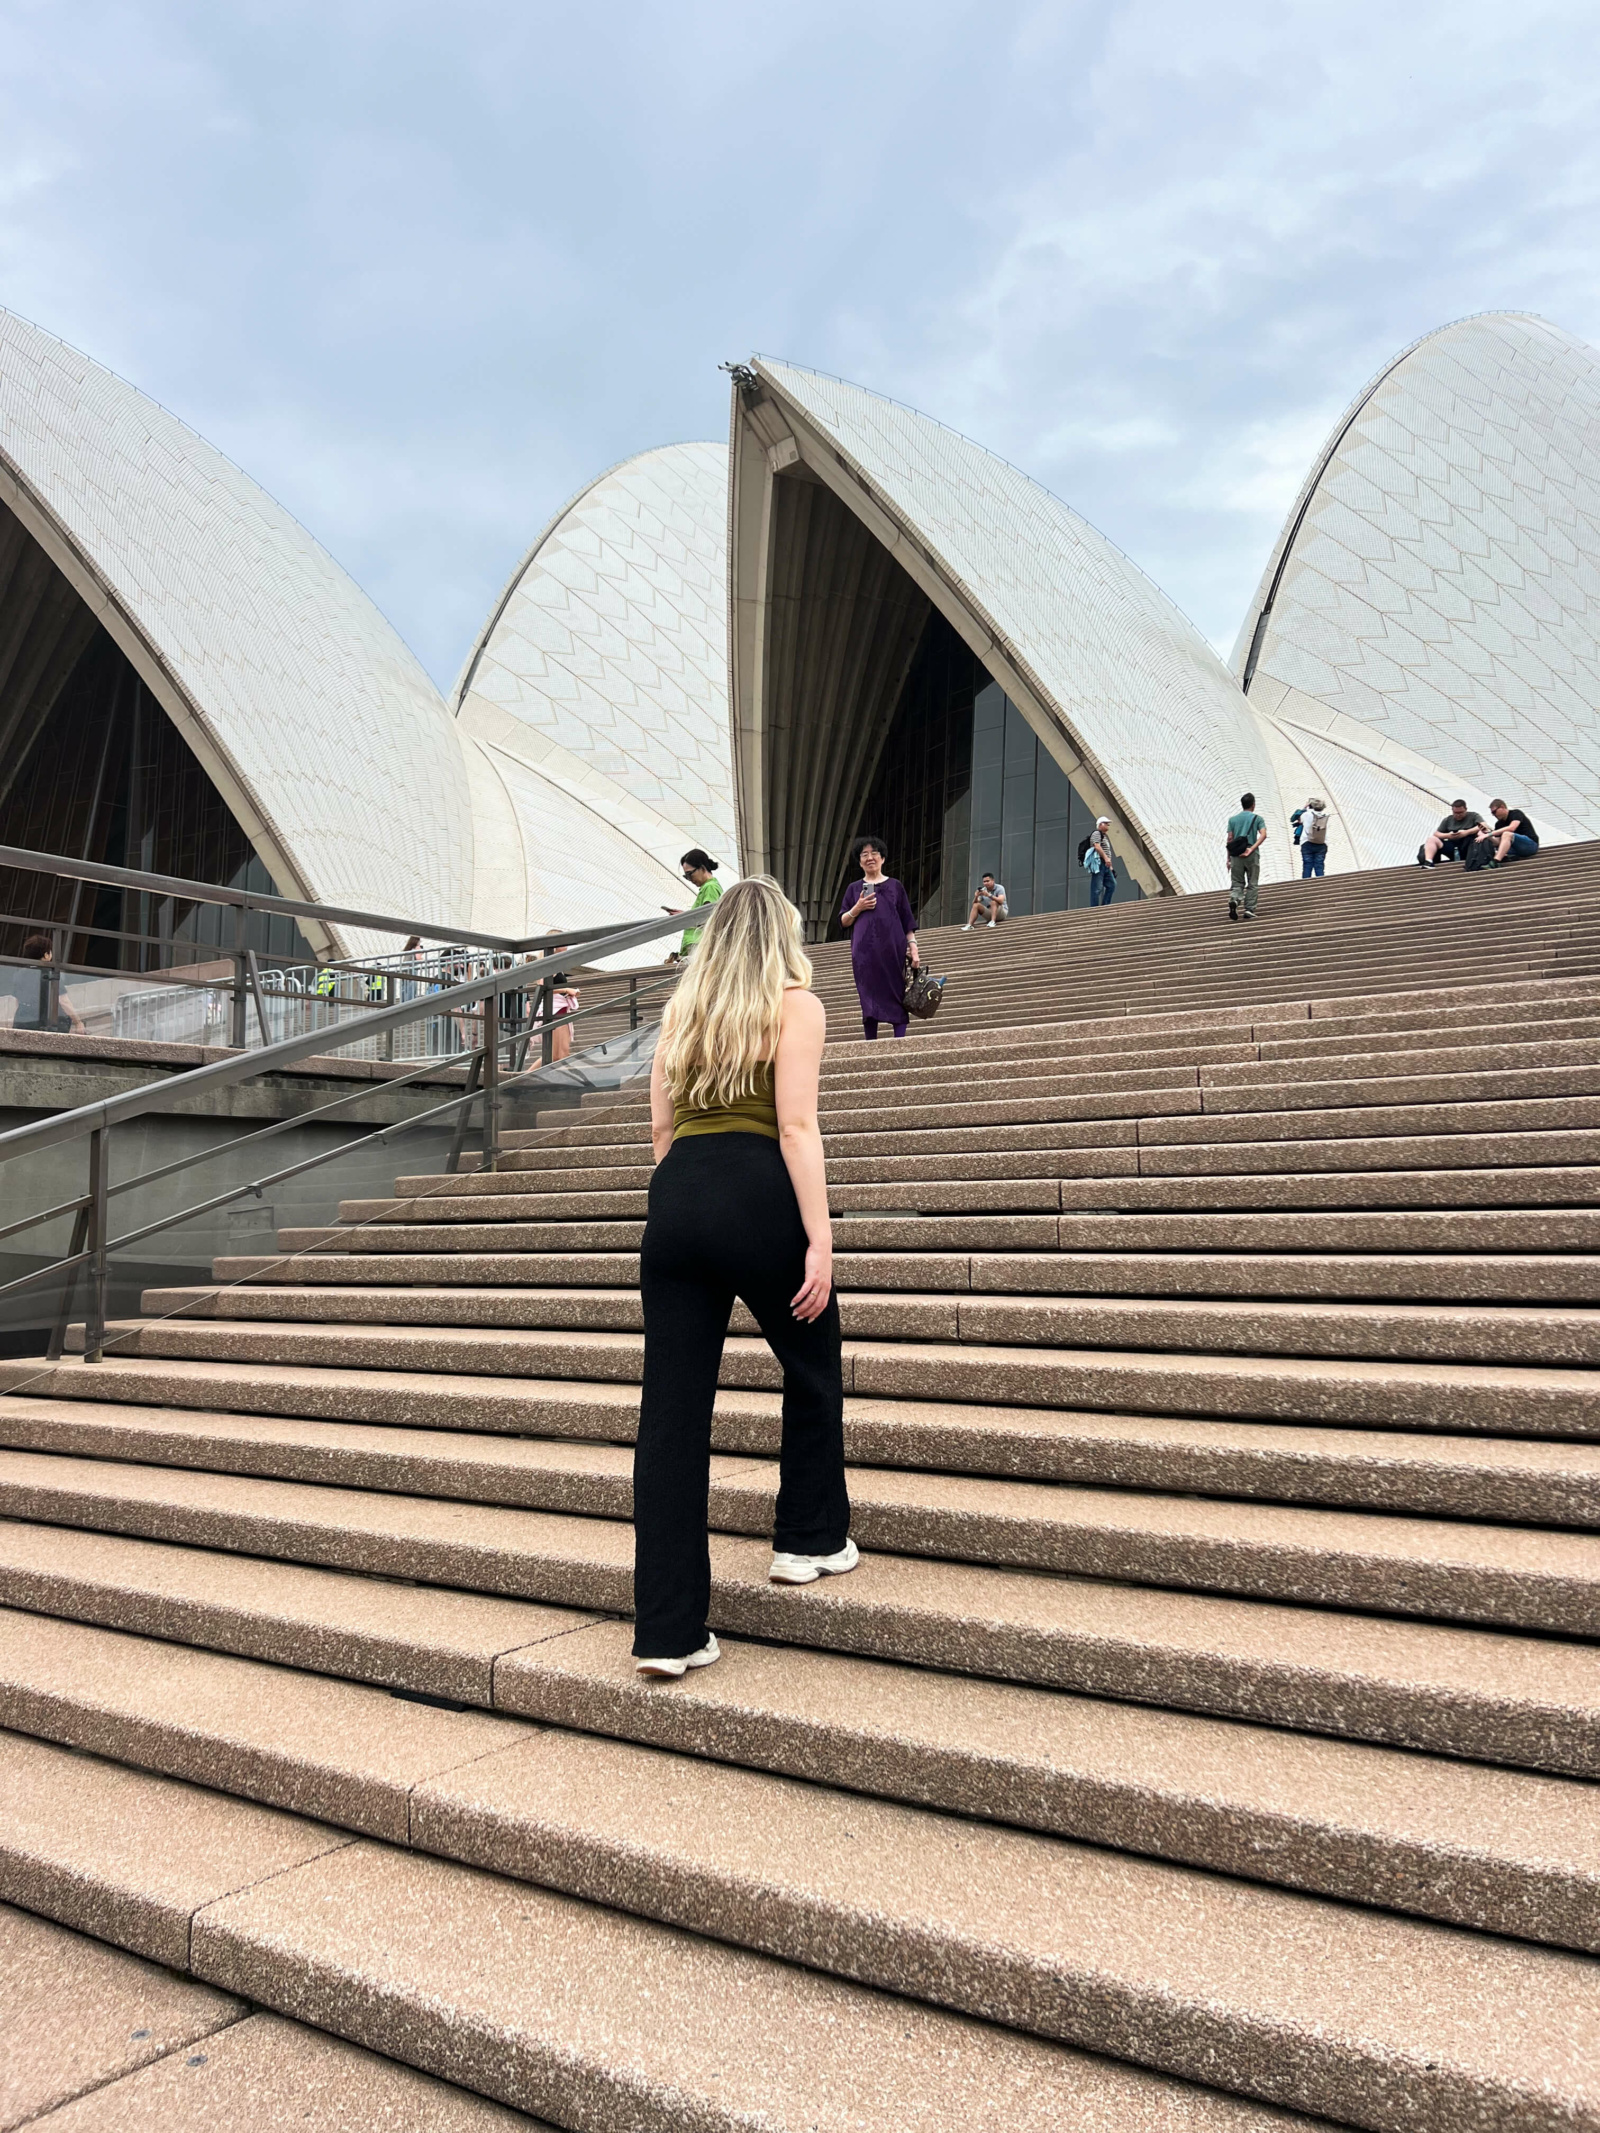
If you’re wondering which eSIM to get for Australia, I have a great tried-and-tested recommendation for you. I recently travelled from the UK to Australia for the very first time, landing in Sydney and exploring the likes of Bondi Beach, Kangaroo Valley and Jervis Bay. Before flying, I ordered this 15-day Unlimited Australia eSIM from Sim Local. The plan cost me $53.25 (approximately £39) and included unlimited 4G and 5G data for up to 15 days. That works out at just £2.60 per day for unlimited high-speed data.
As I knew I’d be using my phone a lot for navigating Sydney and also posting to my Travelista Instagram account, I chose the unlimited package for complete peace of mind. I also chose the unlimited SIM because I liked knowing the total cost of my data before I’d even departed.
Ordering the eSIM was incredibly straightforward. I simply visited the Sim Local website, selected the Australia plan and completed my purchase online. Within minutes, I received an email with step-by-step activation instructions.
The set-up process was simple to follow, and within 20 minutes of landing at Sydney Airport, I had full connectivity. While my partner was still trying to connect to the airport Wi-Fi, I had already checked my emails, messaged my parents to let them know we had arrived safely, and ordered an Uber to take us to our hotel in Bondi Beach. That immediate connectivity felt like I was travelling smarter before I had even left the airport.
I can honestly say that as soon as my Sim Local eSIM was up and running, I remained connected to faultless 5G during the entire trip. This included on a boat trip around Sydney Harbour, on the beaches of Jervis Bay and even out in the total wilderness of Kangaroo Valley, where my sister got married during the trip.
Half way through the trip I also discovered that all Sim Local eSIM plans include hotspot and tethering, so I began to share my data via hotspot with my partner and my family during the trip. As my plan was unlimited, I was able to share my data without worrying that it would cost me anything more. So if you’re travelling with a friend or as a couple, you could very easily just purchase one plan and hotspot the data the entire trip.
I was amazed that the data never dropped out once. Whilst others in my group were constantly seeking out Wi-Fi passwords, I could relax in the knowledge that my connectivity would always be there. If you’re looking for a reliable and reputable global eSIM provider, I would genuinely recommend Sim Local to all my followers, family and friends.


Price Comparison: Is eSIM better than roaming in Australia?
I was curious to see how much this saved compared to using my regular network provider, Vodafone UK. As I mentioned, my Sim Local eSIM cost £39 for 15 days of unlimited 4G and 5G data. Vodafone’s worldwide roaming charge for Australia would have cost me £7.39 per day.
Over 15 days, that would have totalled £110.85. By comparison, my Sim Local eSIM cost £39, meaning I saved £71.85. Vodafone’s roaming allowance is also capped at 25GB over the 15-day period. If I had exceeded that limit, I would have been charged an additional £3.58 per 1GB.
Let’s break it down in a table so you can really see the difference:
| Sim Local eSIM | Vodafone Roaming | |
| Price per day of the trip | £2.60 | £7.39 |
| Usage limits | Unlimited | Up to 25GB |
| Additional data charges | None | £3.58 per 1GB |
| 15 day total spend | £39 | +£110.85 |
Given how often I use maps, upload photos, stream music and browse while travelling, exceeding 25GB over two weeks feels entirely possible. With Sim Local’s unlimited plan, I didn’t need to monitor my usage or worry about extra charges.
Use code TRAVELISTA at checkout to get 5% off any Sim Local eSIM.

How to get an eSIM for Australia
Getting an eSIM for Australia is quick, easy and can be done online in just a few clicks. There are a huge amount of eSIM providers online, so feel free to browse the entire market. However, if you need a trusted eSIM company with a 5 star Google rating and 24/7 online support, Sim Local is a great option . If you’re not sure which eSIM you’ll need, try using their Find My Plan tool to help you choose the right amount of data for your needs.
How to install an eSIM
Setting up a Sim Local eSIM could not be easier. Here’s a step-by-step guide. Remember that before installing a Sim Local eSIM you’ll have needed to have purchased a plan and downloaded the Sim Local app. I recommend installing your eSIM this at the airport or just before take-off to start making the most of your plan as soon as you land. To get your eSIM up and running, follow these steps;
- First, open the Sim Local app and create an account using the same email address you used to purchase your plan
- Next, one you’re logged into the Sim Local app, go to My eSIM and you’ll see the plan you’ve purchased. Tap Install Plan, then tap Download Plan. It might take a minute or so to download.
Step 1 – Set Mobile Data to your Sim Local eSIM
Go to Settings → Mobile Service (or Cellular)Tap Mobile Data → Select your new plan → Turn Allow Data Switching is OFF
Step 2 – Enable Data Roaming
Go to Settings → Mobile Service (or Cellular) → Under SIMs, select your new plan → Turn Data Roaming ON
Step 3 – Rename your plan (recommended)
Go to Settings → Mobile Service (or Cellular) → Under SIMs, select your new plan → Tap Mobile Plan Label → Choose a custom name (e.g. Australia eSIM)
Would I use Sim Local again?
My current phone plan includes free data roaming across Europe, but If I ever travel long haul outside of Europe now, using an eSIM would be a non-negotiable for me. After trying out Sim Local for myself in Australia, I would definitely return to them as a provider for any future trips.
What I loved most was:
- The quick and easy setup
- Instant connectivity upon landing
- Unlimited data with no hidden costs
- Significant savings compared to roaming charges
- Complete peace of mind throughout the trip
With all of those things combined, using an eSIM when you travel is a complete no-brainer and something I feel like many smart female travellers are already making eSIMs a priority before any long haul trip.
Ready to Travel Smarter?
Good news! You can do it for less with our Travelista community discount code.
Use code TRAVELISTA at checkout to get 5% off any Sim Local eSIM.
If you’re planning a trip to Australia or anywhere else in the world, an eSIM is one of the simplest ways to save money and stay connected. Browse plans and find the best option for your trip – and happy travels down under!
Want more tips on travelling to Australia? Check out 36 Essential Australia Travel Tips: Smart Things to Know Before Flying






Leave a comment